Managing Plinqx Integration Activation
Available: Starter and Premium
Overview
Activating or deactivating a Plinqx event is a straightforward process that can be managed within the Plinqx Management Console. This functionality allows you to control the operational status of your integrations, enabling or disabling them as needed for your business processes.
Steps to Activate or Deactivate a Plinqx Event
-
Accessing the Management Console:
- Begin by navigating to the Plinqx Management Console in your Salesforce environment.
-
Locating the Event:
- Find the Plinqx event you wish to activate or deactivate. You can use the search functionality if you have numerous events listed.
-
Editing the Event:
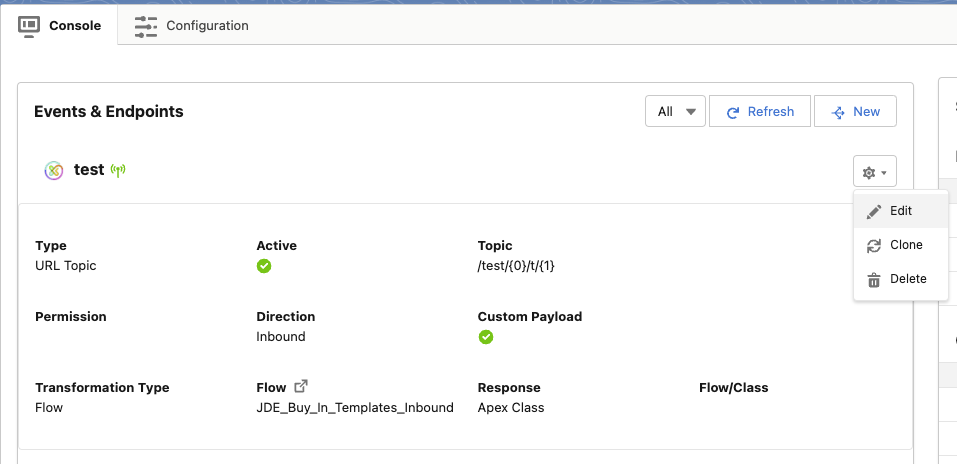
- Click on the 'Edit' option in the actions menu next to the event you want to manage.
-
Navigating to the Activation Page:
- Proceed through the event editing options until you reach the 'Activation' page. This is where you can change the status of the event.
-
Changing the Event Status:
- Select 'Activate' to enable the event or 'Deactivate' to disable it, depending on your current requirement.
-
Saving the Changes:
- After making your selection, click 'Next' to proceed and save the changes to the event's status.


Conclusion
Activating or deactivating a Plinqx event is a key aspect of managing your Salesforce integrations. This feature provides flexibility in controlling when your integrations are active, allowing for testing, maintenance, or modifications without impacting live operations. By following these steps, you can easily adjust the operational status of your Plinqx events as needed.